Getting Started
From install to your first workspace in under two minutes. Beadbox wraps the bd CLI, so you will install both.
1Install the beads CLI
The bd command is the engine behind Beadbox. It manages your issues, epics, and dependencies locally using Git-backed storage.
brew install beadsRequires Homebrew. Installs the bd binary to your PATH.
Verify the install:
bd --versionYou should see the version number printed. If the command is not found, make sure the install directory is on your PATH.
2Install Beadbox
Beadbox is a native desktop app. Pick the installer for your platform.
brew tap beadbox/cask && brew install --cask beadboxOr download the DMG directly from GitHub Releases.
3First launch
Open Beadbox. What happens next depends on your setup.
New to beads? No workspaces yet?
Beadbox checks for the bd CLI on startup. If it cannot find it, you will see a welcome screen with install instructions and a "Check again" button.
Once bd is detected, you will see a Quick Start card. Pick a project folder, click Set Up Workspace, and Beadbox runs bd for you. Your workspace is ready; all data stays local on your machine.
Already using bd? Have existing workspaces?
Beadbox detects workspaces from your ~/.beads/registry.json and any project directories that contain a .beads/ folder. Click a workspace to open it. Your epic tree loads with live status indicators.
Changes from the terminal propagate in real time. Run bd update <id> --status closed in your terminal and watch the status update in Beadbox within two seconds, no refresh needed.
4What you see
The main screen has three zones:
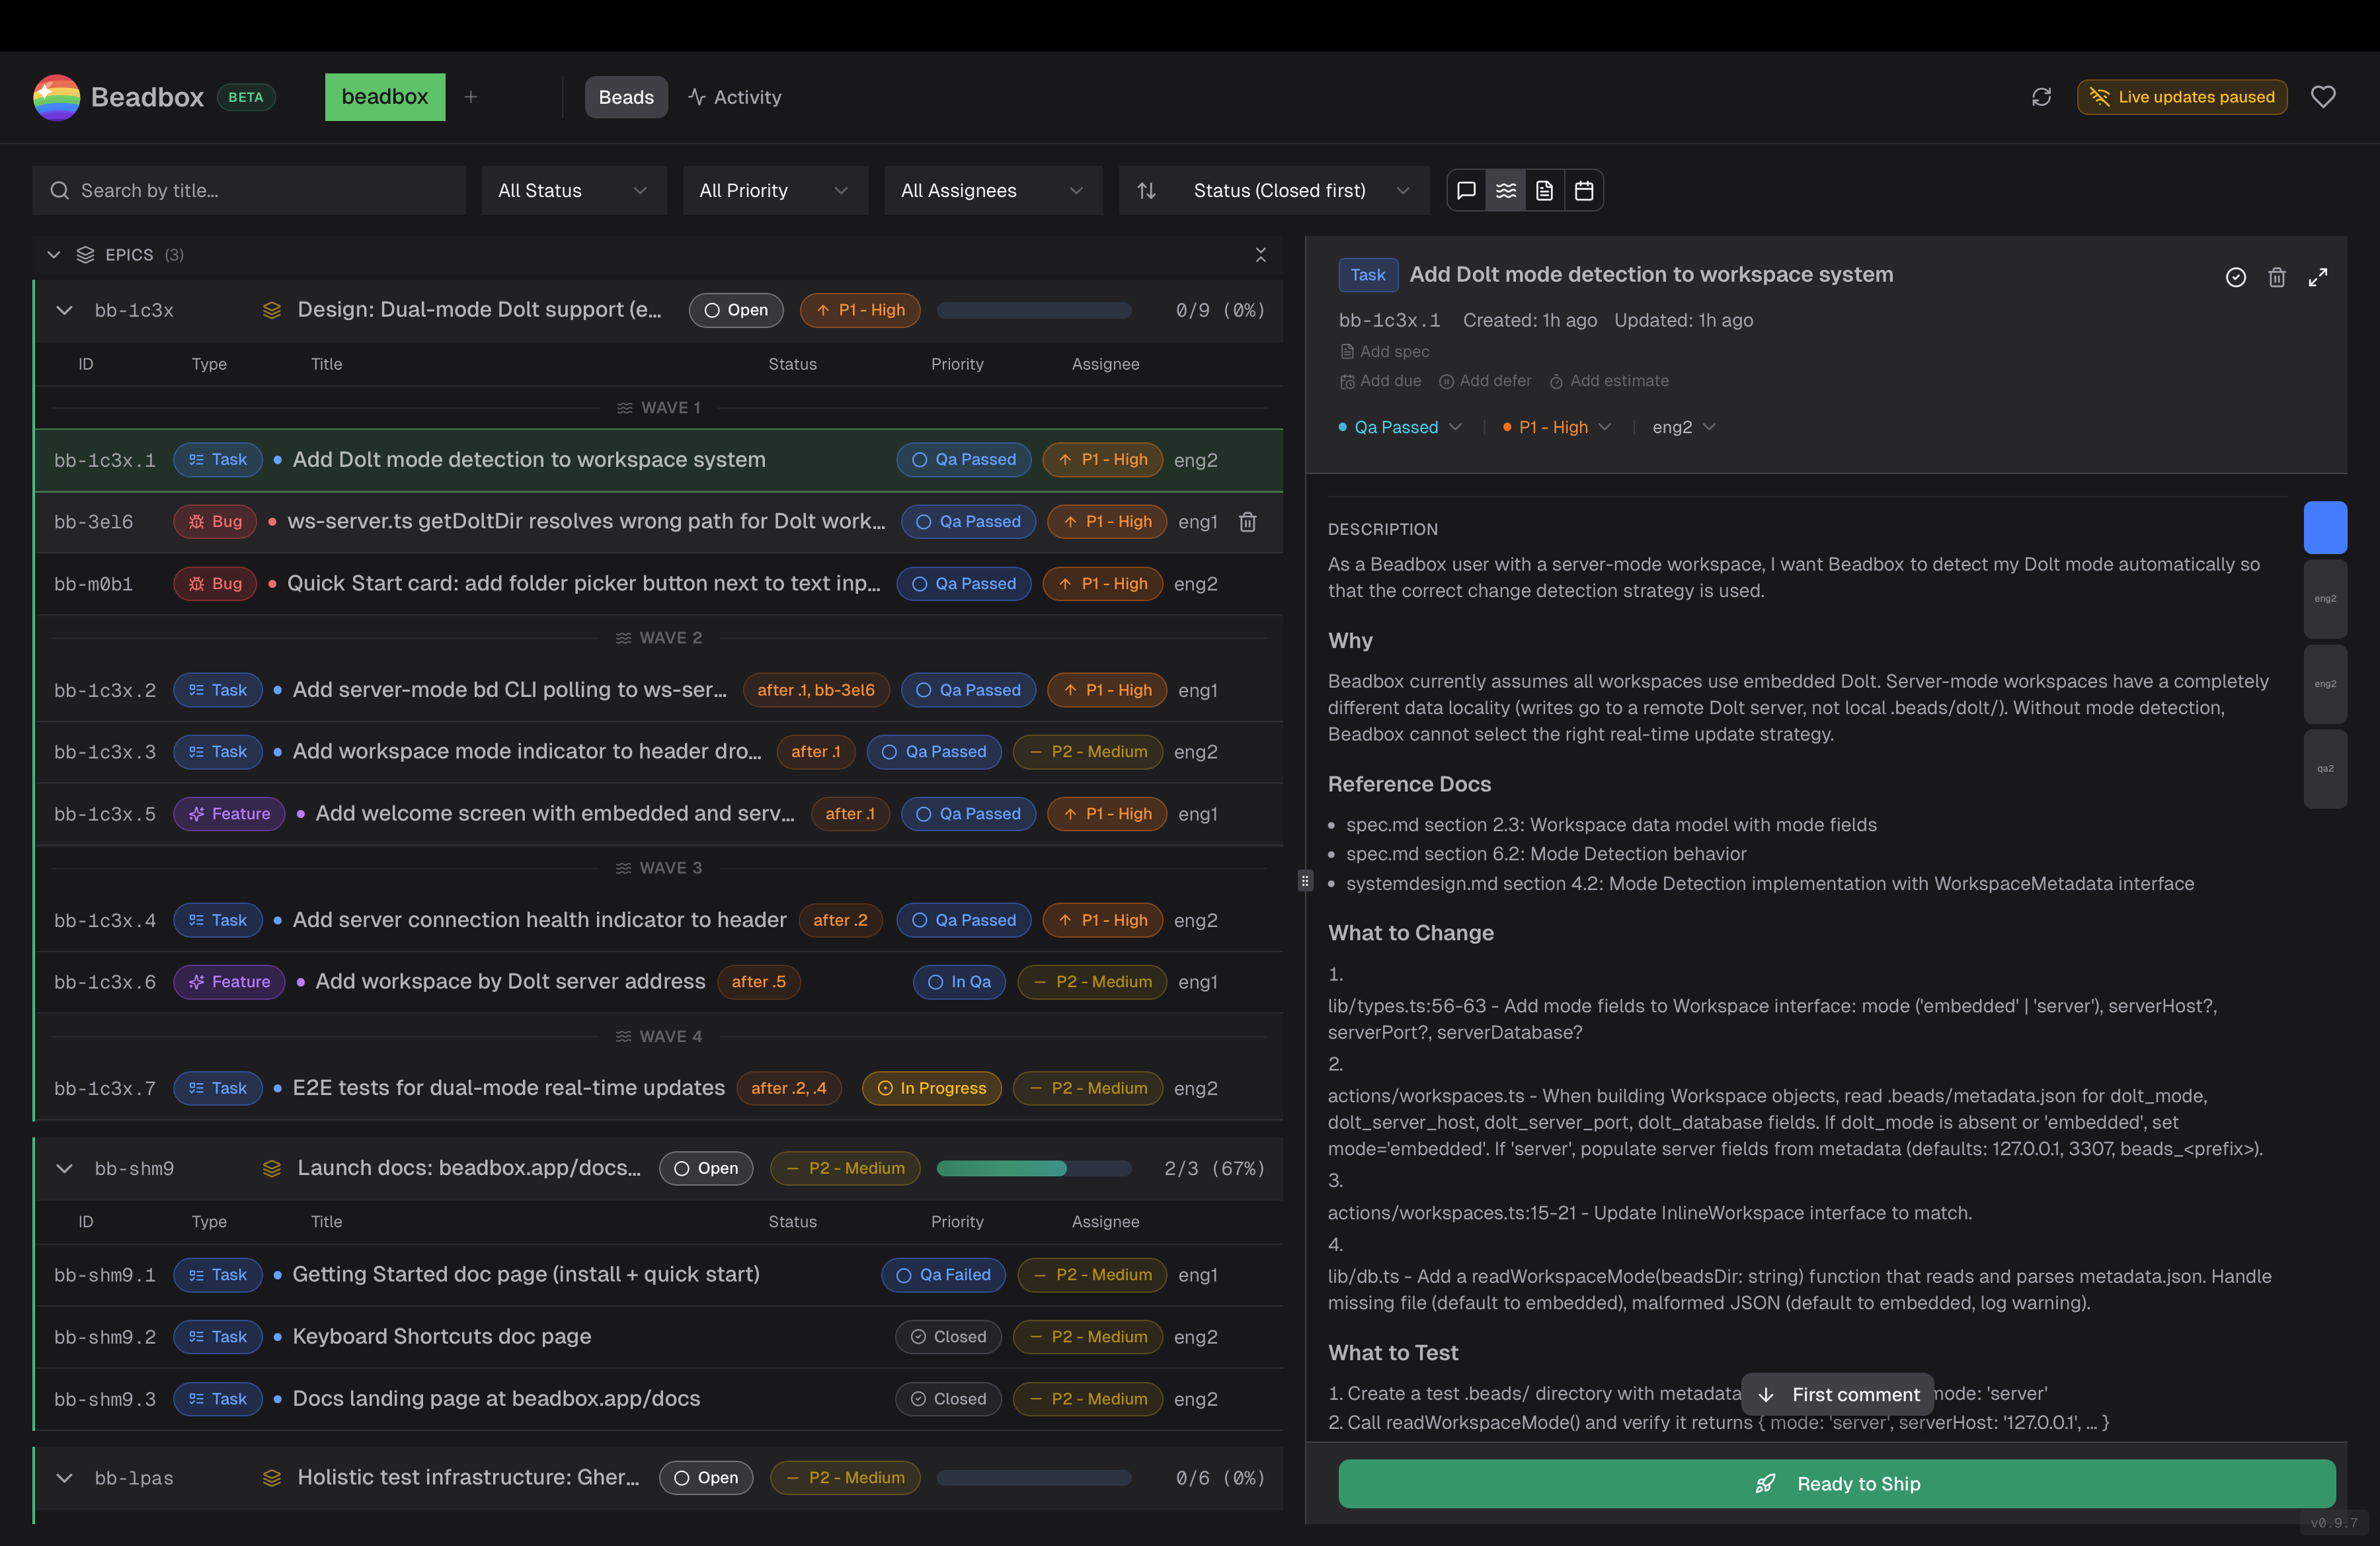
Header
Switch between workspaces, see connection status, and trigger a manual refresh. Keyboard shortcut settings live here too.
Filter bar
Filter by status, priority, assignee, or full-text search. Sort by updated, created, priority, or status. Filters persist per workspace.
Epic tree (left)
Hierarchical view of your epics and their children. Expand to see status badges, priority indicators, and progress counts. Click any bead to open its details.
Detail panel (right)
Full bead metadata: description, comments, dependencies, acceptance criteria. All rendered as markdown.
Next steps
- Learn the keyboard shortcuts for vim-style navigation (j/k/h/l, gg, G).
- Read the beads CLI docs to learn about epics, dependencies, and Dolt-backed version control.